How to Clean a Hummingbird Feeder
- Empty the feeder and dispose of any leftover nectar
- Take apart the hummingbird feeder
- Create a mild solution of soap and hot water and allow feeder to soak
- Using a cleaning mop, scrub away any nectar residue or mold buildup
- Rinse the hummingbird feeder with cold water
- Allow feeder to air dry before refilling
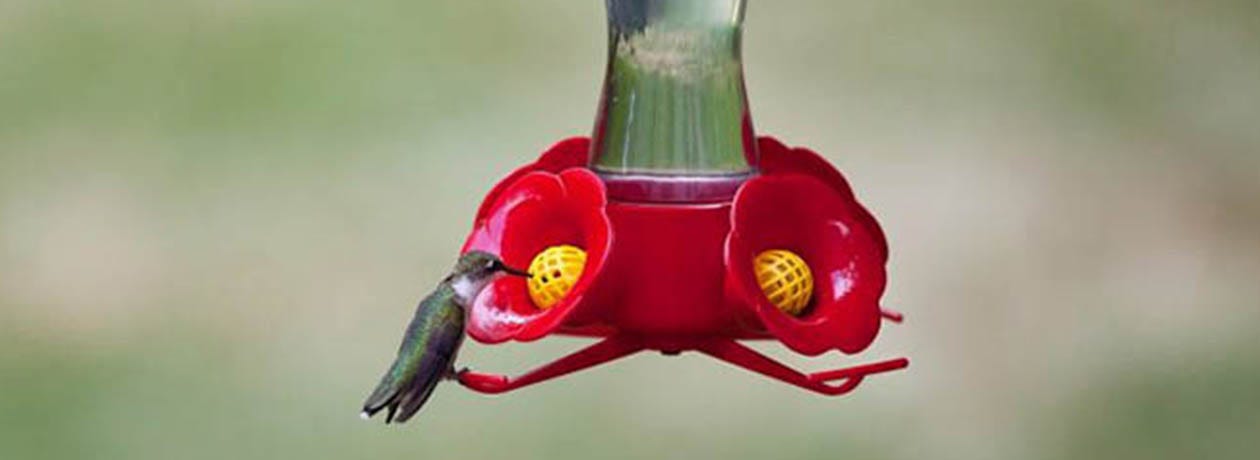
Why is A Clean Hummingbird Feeder Important?
Keeping feeders clean and hygienic is a vital aspect of feeding the birds. Not only are hummers more likely to imbibe from a consistently clean feeding station, but it’s healthier for them as well. Most hummingbirds would rather go without food than drink nectar that has gone bad, so it’s important to keep the feeder clean so hummingbirds can continue enjoying their visits. These six simple steps will ensure the owner maintains a fresh, sparkling clean feeder.
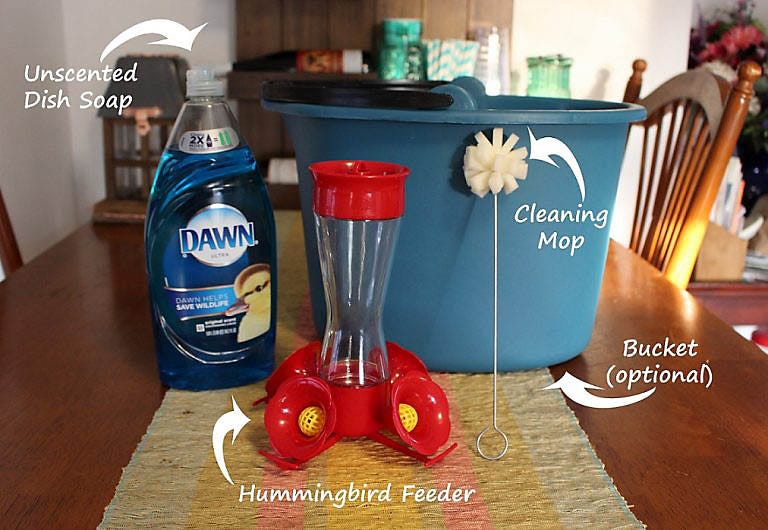
What is Needed
Step One: Empty the Feeder
When it’s time to clean the feeder, start by pouring out and discarding any unconsumed nectar and flushing the empty bottle with hot water. Never reuse nectar because it does spoil, especially in warm weather. If hummers consistently aren’t emptying the feeder between cleanings, stop filling the reservoir completely full to avoid waste.
Step Two: Take Apart the Feeder
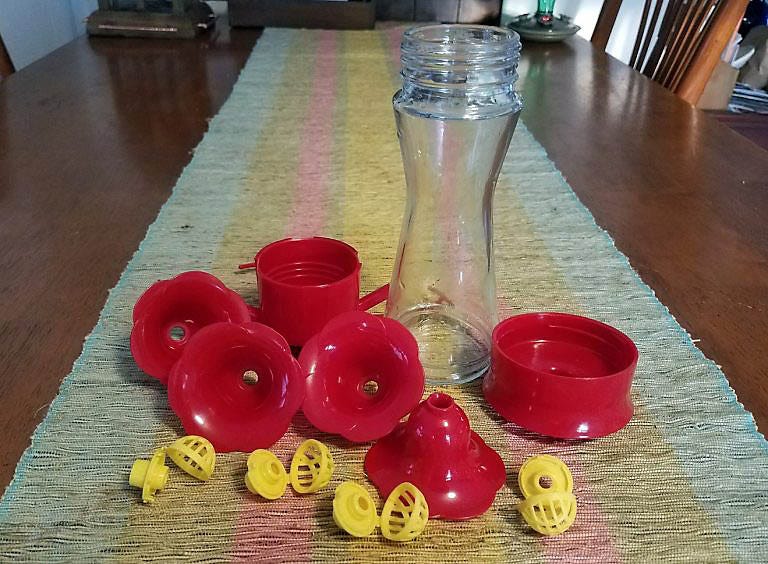
To make cleaning easier, disassemble the feeder as much as possible. Many of the newer model Perky-Pet® hummingbird feeders can be completely taken apart. Even the feeding ports and bee guards can be removed. This will allow all the nooks and crannies to be accessed for thorough cleaning.
Step Three: Soak the Feeder
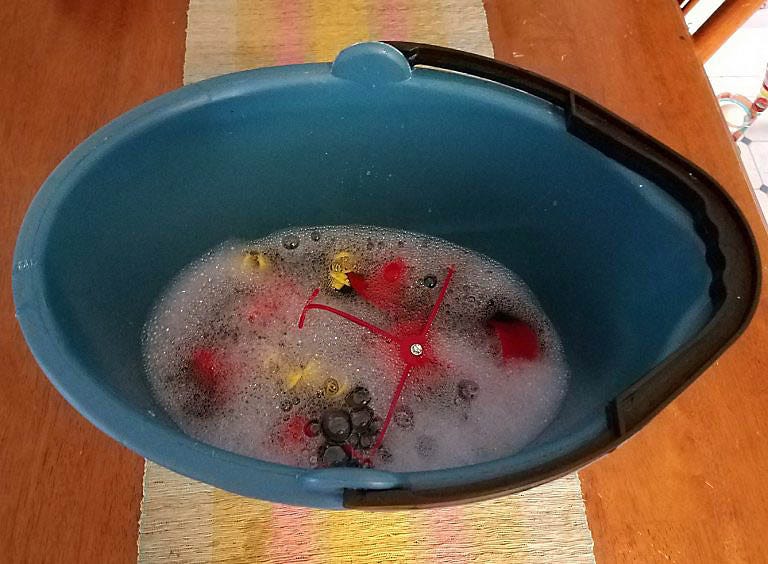
Mix hot water and dish soap in a container or sink to create mild cleaning solution. Place all of the feeder parts into the solution and allow them to soak for 1-2 hours. This will loosen the nectar residue and any mold buildup on the interior of the feeder and make it easier to scrub.
Step Four: Scrub the Feeder
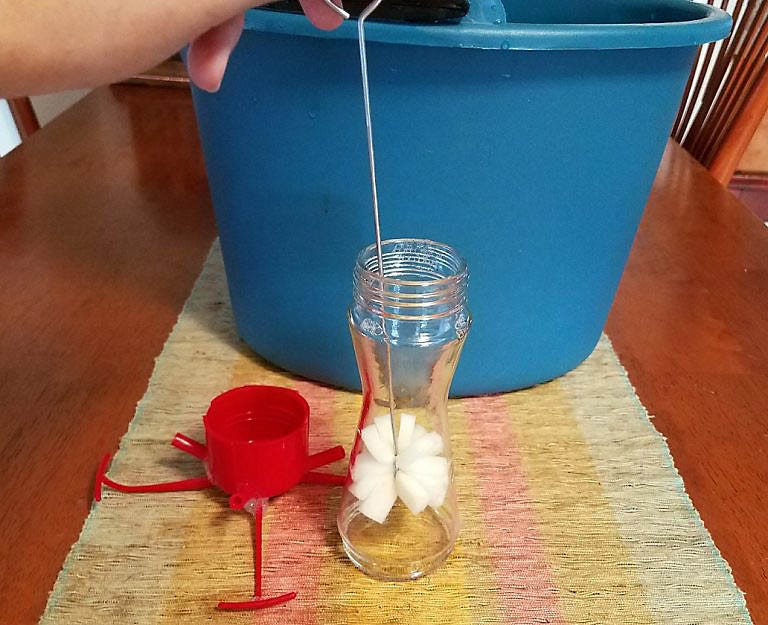
Using a cleaning mop or bottlebrush, scrub the hummingbird feeder. Clean the inside of the bottle and base thoroughly, removing any remaining nectar residue and paying extra attention to spots with mold. If the feeder has a small neck that can’t be accessed with a mop or if the feeder has some particularly dirty spots, add a spoonful of rice with a dab of dish soap. Then fill 2/3 of the way with water and give the feeder a good shake. Also, be sure to scrub the other feeder parts, such as feeding ports, the cap and bee guards.
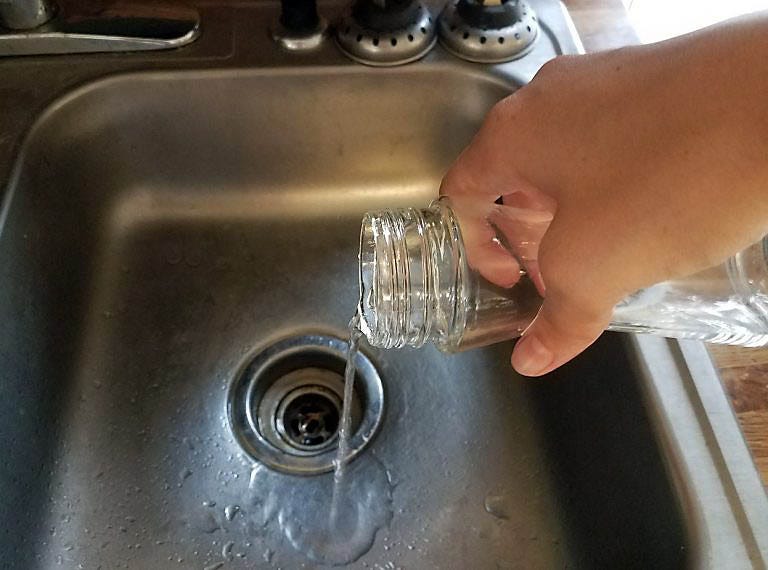
Step Five: Rinse the Feeder
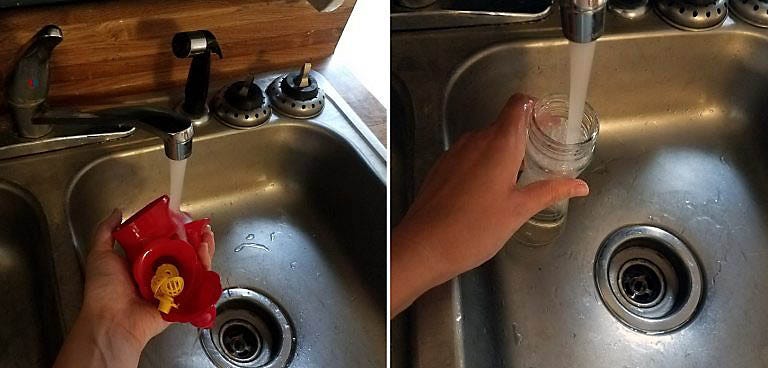
After scrubbing is finished, empty the cleaning solution. Rinse the feeder with cold water to remove any traces of suds or dirt. Hummingbirds won’t like it if their nectar tastes like soap!
Step Six: Dry the Feeder
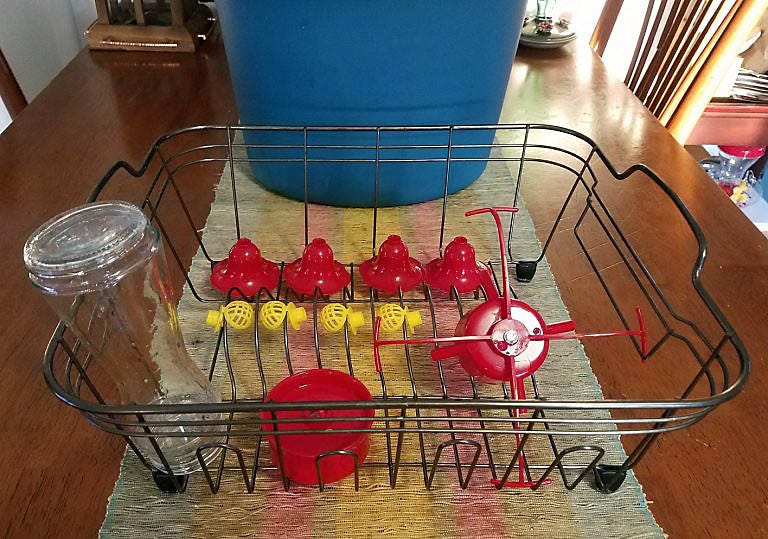
Arrange the pieces of the feeder in a dish rack or on a towel and allow them to air dry completely. Once they’re all dry, assemble the feeder and refill it. Hummers can now enjoy a fresh, clean food source!
How Often Should A Hummingbird Feeder Be Cleaned?
Generally, nectar should be replaced every 3 to 5 days and feeders should be cleaned at least once per week. However, there’s no precise timeline. The frequency of cleaning depends on a few factors, such as:
- ClimateIn the height of the summer months, when the weather is consistently hot and humid, nectar can ferment much more quickly. When this is the case, nectar needs replaced and feeders need cleaned more frequently to prevent buildup of mold – every few days may be necessary.
- Number of Birds Determine how many birds visit the feeder – is it just a few regulars, or a whole flock? The more visitors, the more the hummingbird feeders need to be cleaned. Plus, it’s likely your nectar empties faster, so it’s the perfect time for a quick scrub.
In addition to the considerations above, also clean the feeder immediately if the nectar looks cloudy, indicating it has spoiled, or if there are black spots anywhere on the feeder.
Other Cleaning Methods
Although we recommend soap and water as the best cleaning method for the hummingbird feeders, there is, as they say, more than one way to clean a feeder. Using a brush with soap and water is the easiest way to rid the feeder of nectar residue and other gunk, but other methods can work just fine for general feeder maintenance. Here’s what should be known about alternate cleaning methods:
- Bleach -This cleaning method involves many of the same steps as listed above. The main difference is that the feeder soaked in one part bleach to ten parts water instead of soapy water. If this method is chosen, it is very important to thoroughly rinse the feeder and allow it to completely air dry before refilling. Otherwise, the feeder could have an off-putting scent.
- Vinegar -Another easy, as well as natural cleaning method for the hummingbird feeder. Again, use many of the same steps as above, substituting the soap and water solution for two parts water and one part distilled white vinegar. Allow to completely dry before refilling
- Dishwasher -Lastly, it may be possible to use a dishwasher. This method is quick and easy, but is only recommended for general cleaning. Do not use for moldy feeders that need scrubbing. Ensure that the feeder is dishwasher safe before doing this; otherwise, the feeder could melt.
Lucky for hummingbird lovers, many of our newer hummingbird feeders have special features such as a wide mouth bottle or an easy-to-disassemble design to make cleaning simpler.